How to mint a Uniq using the Ultra Tool Kit
Prerequisites
- You must have already created a uniq factory. Refer to How to create a Uniq Factory using the Ultra Tool Kit for more information.
- Your account must have sufficient UOS tokens for transactions and fees. Refer to Tutorial - Using the Faucet and Buying RAM on Ultra Testnet for more information.
Goal
This guide will help you mint your first Uniq.
Accessing the Tool Kit
To access the Ultra Tool Kit, please visit: https://toolkit.ultra.io
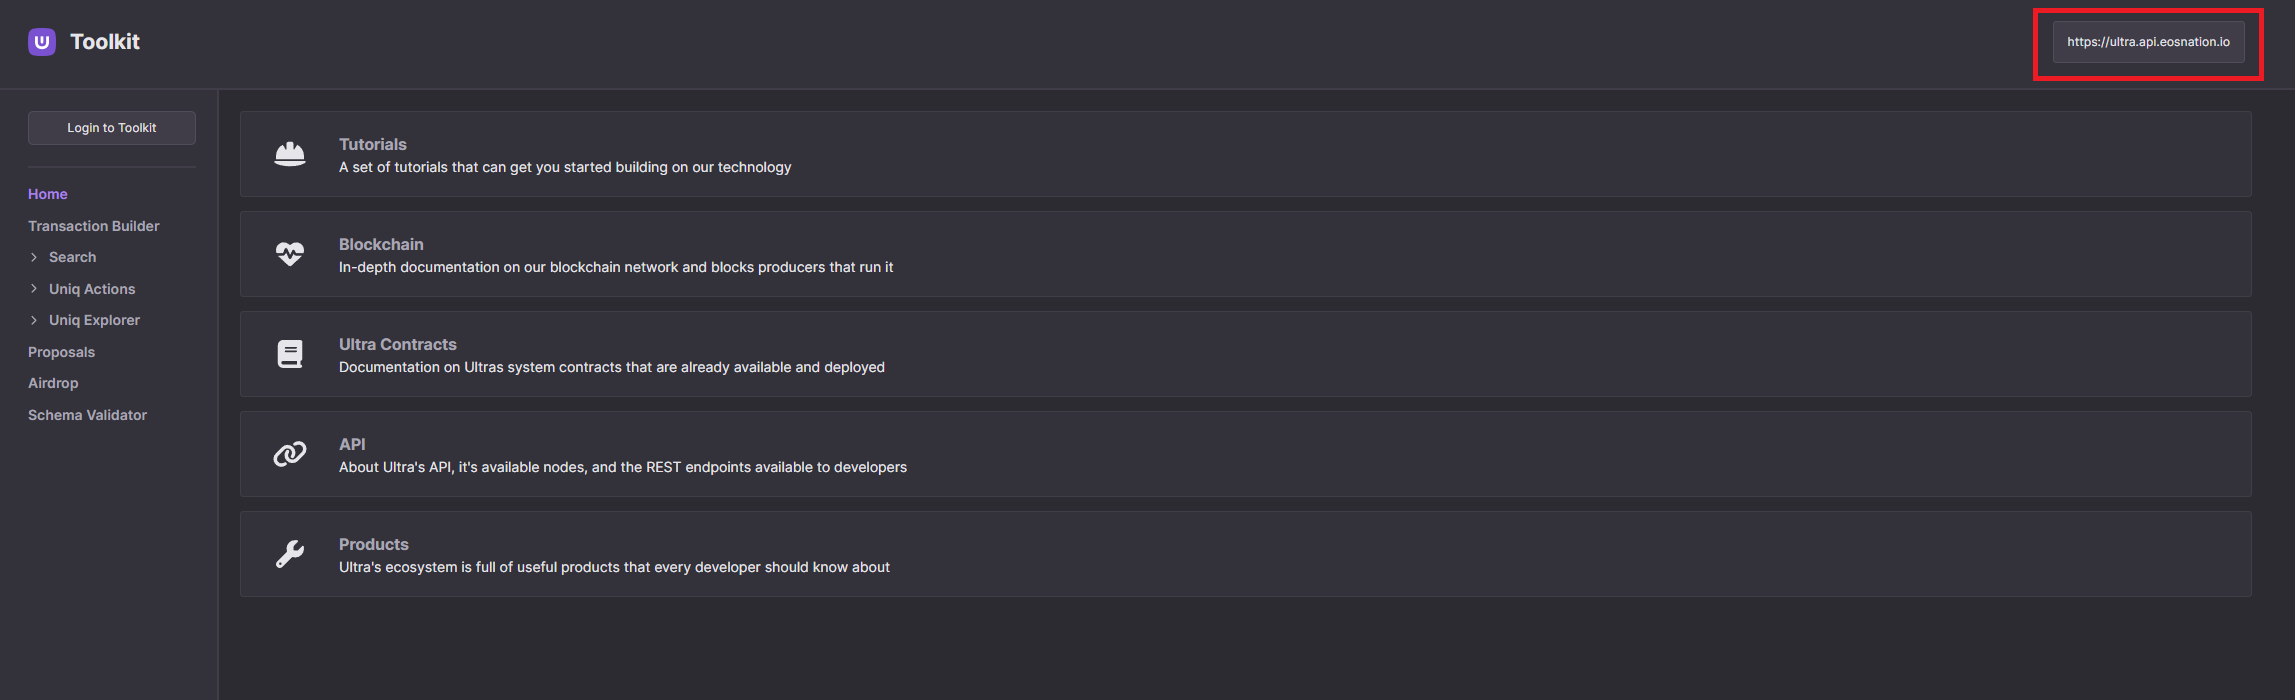
Once you're on the Tool Kit homepage, click on the network selection component on the top right of your screen.
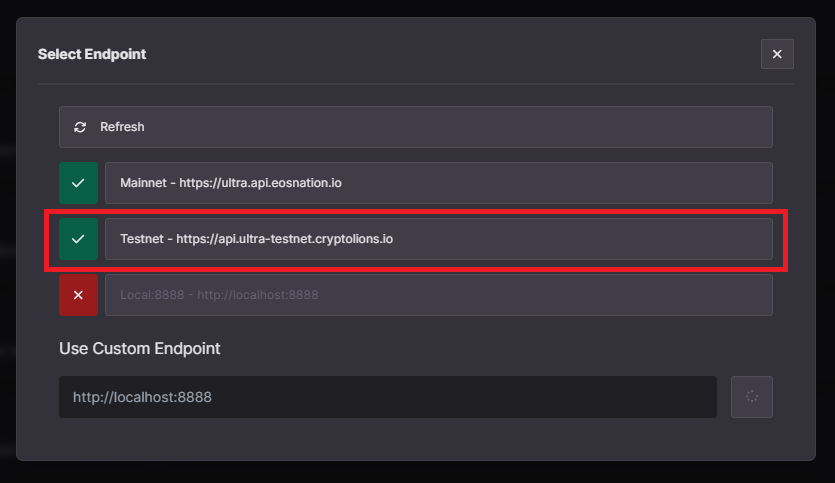
Clicking on the network selection component will open up a list of available networks that you can use the tool kit on. For the sake of this tutorial, we will be using the Ultra Testnet. From the list of available networks, click on Testnet.
Login to the Ultra Tool Kit using Ultra Wallet. Refer to Tutorial - Log in to the Ultra Tool Kit for more information.
Minting a Uniq
1. Accessing Factory Management Page
Once you've logged in to the tool kit, from the tool kit home page, click on the Uniq Actions from the sidebar, and then click on Factory to open the uniq factory actions page.
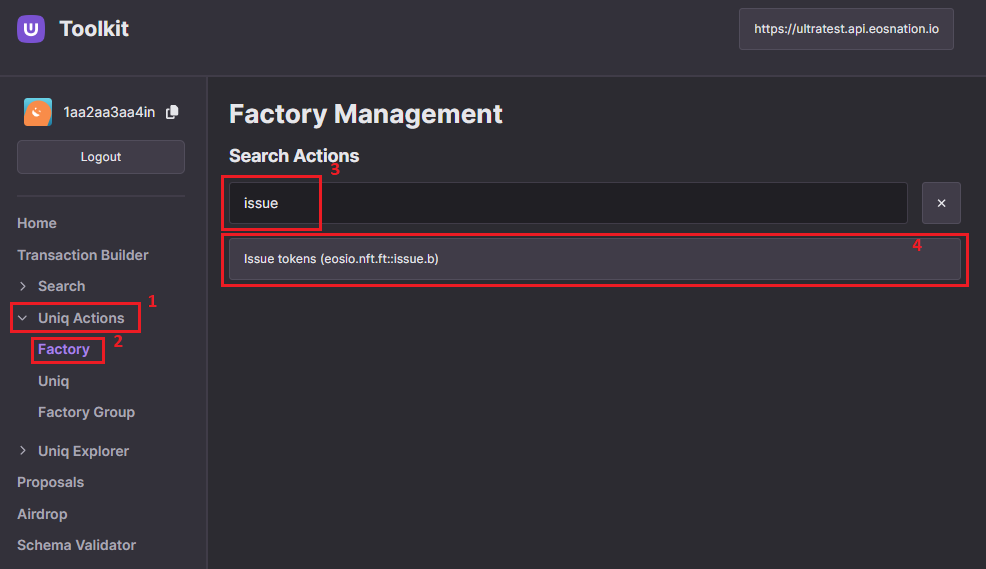
On the factory page, search for issue action in the search box, and click on the Issue tokens (eosio.nft.ft::issue.b) action to open up the transaction modal.
2. Configure issue.b Action
We are going to use the issue.b action to mint a uniq. For more information on the action, refer to issue.b action documentation.
Once you have opened the transaction modal, fill the required fields for the issue.b action:
- To: Required, the recipient of the minted token. Input your account if you want to receive the minted uniq in your wallet.
- Token configs: Click
Addto input theToken factory ID,Amount, andCustom data.- Token factory ID: Required, the ID of the factory from which the uniqs will be minted. Use the ID of the uniq factory created in the previous guide. Refer to How to create a Uniq Factory using the Ultra Tool Kit for more information.
- Amount: Required, the number of uniqs to be minted. For the sake of this guide, we will mint
1uniq. - Custom data: Deprecated, leave blank.
- Memo: Required, enter a text memo for your transaction. For example,
Minting my first uniq. - Authorizer: Optional, the authorizer of the mint. Must be one of authorized minters of the factory. Leave blank to use
null. - Maximum UOS payment: Maximum amount of UOS that is allowed to be used for the purposes of contract RAM usage. For simplicity's sake, we will Leave blank to use
null. - Token metadata: Click
Addto input theMetadata URIandMetadata hash.- Metadata URI: Required, the URI of the token metadata. We are using
https://developers.ultra.io/uniq-collections/AngryBananas/1.json, based on the metadata we created during the How to create Uniq metadata guide. - Metadata hash: Optional, hash of the token metadata. We are using
2da6b5b4d8ecf25ac3b472c16264b02c48d35833196a262db562ea988e34417f, based on the metadata we created during previous guides.
- Metadata URI: Required, the URI of the token metadata. We are using

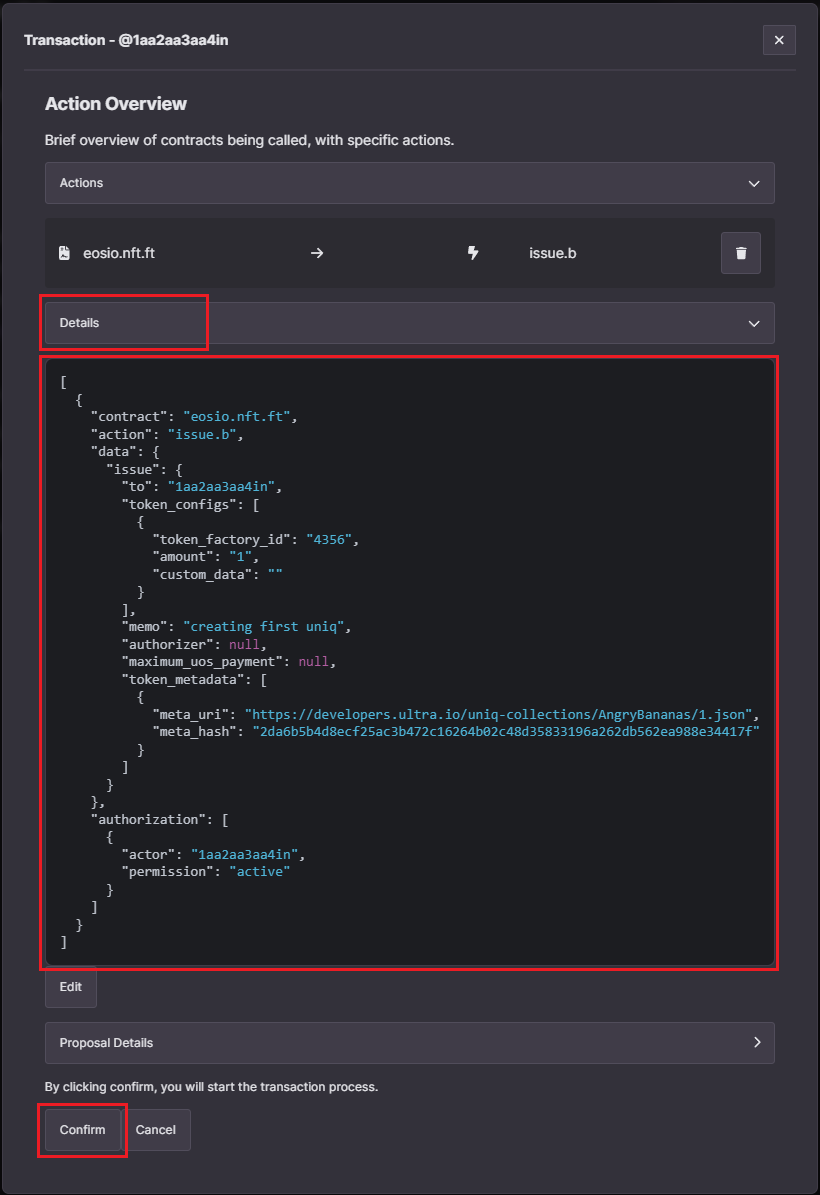
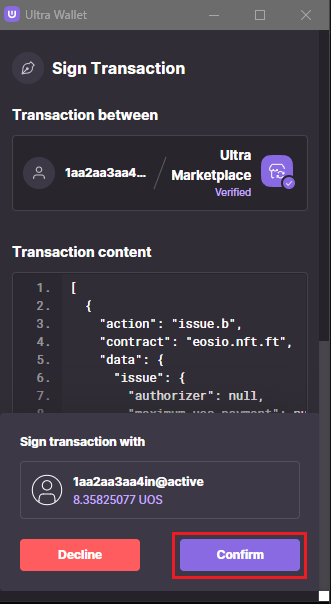
Once you have inputted all the values, click on the Send 1 Action button and it will open up the transaction confirmation modal. You can click on the Details button to view the transaction in JSON form. Click on the Confirm button to submit your transaction.
Confirm and sign the transaction using the Ultra Wallet extension. This step is crucial as it authorizes the blockchain to execute the transfer under your account.
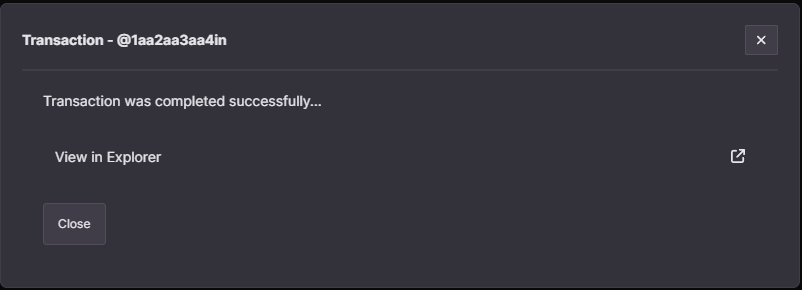
After signing the transaction, you will see a confirmation screen indicating that the transaction was successfully completed. To check the transaction on the block explorer, click on the View in Explorer text.
3. Verifying Minted Uniq
To verify the successful creation of your Uniq Factory, go to the
User Uniq Explorerpage on the tool kit (https://toolkit.ultra.io/user).Make sure you are using the Ultra Testnet environment.
Input your account name and click on the search button. You should be able to view the details of your newly minted uniq under the
Uniqssection. It may take a few seconds to sync the data, so if your uniq is not shown, please wait a few seconds and reload the page.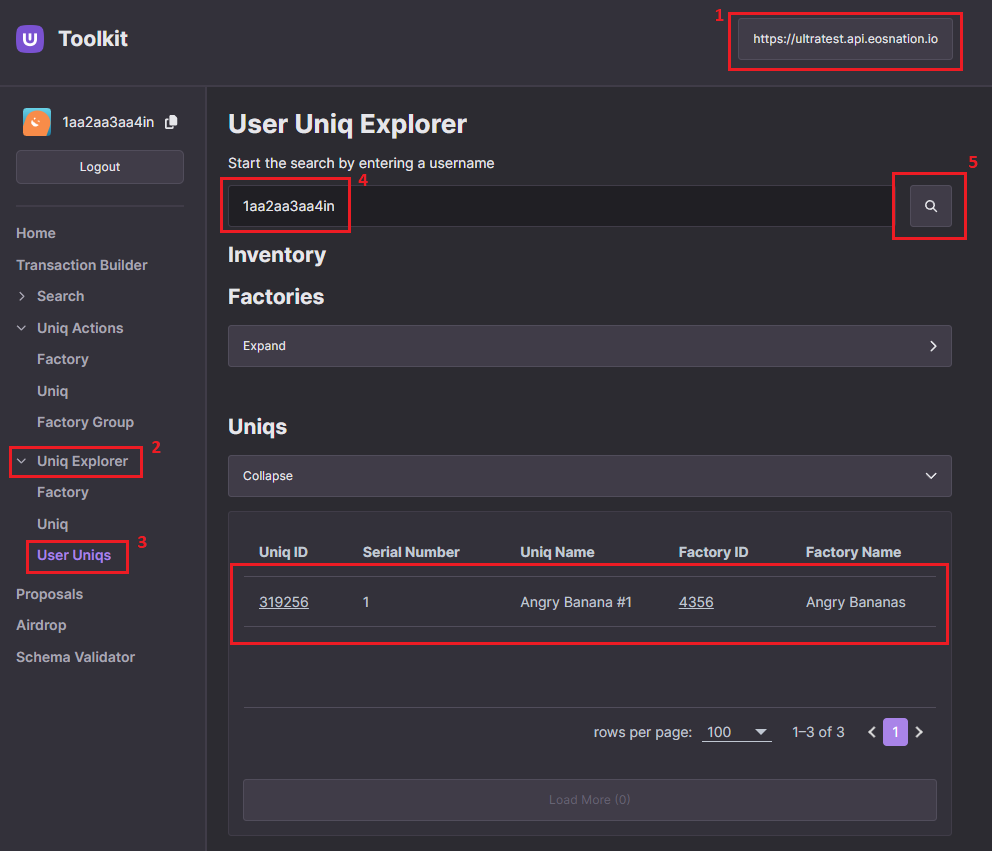
You have now successfully minted your first uniq using the Ultra Tool Kit.
What's next?
Once you have practiced minting Uniqs from your factory, the next steps are to: