Creating and Compiling Smart Contracts with Docker
This document guides you on how to create, compile, and deploy smart contracts using Ultra's 3rd party Docker image.
Prerequisites
Before you begin, ensure that Docker is installed on your computer and you can use the Developer Tools Docker image. For guidance, refer to the Tutorial - Install Docker and get started with Developer Tools Docker image tutorial.
Goal
The goal of this tutorial is to guide developers through the process of creating, compiling, and deploying smart contracts using Development Tools Docker image. By following this step-by-step guide, you will learn how to set up the development environment, create and compile a smart contract, deploy it to the Ultra Blockchain, and interact with it.
Step 1: Start the Docker Container and Log In
Start the Docker container, which contains the smart contract developer tools and a local Ultra Blockchain, using the following command:
docker start ultraLog in to your container with the following command:
docker exec -it ultra /bin/bashStep 2: Start the Local Chain in the Docker Container
Start the local Ultra Blockchain with:
ultratest -D -n -sAccept the default recommendation for the temporary files location by pressing enter.
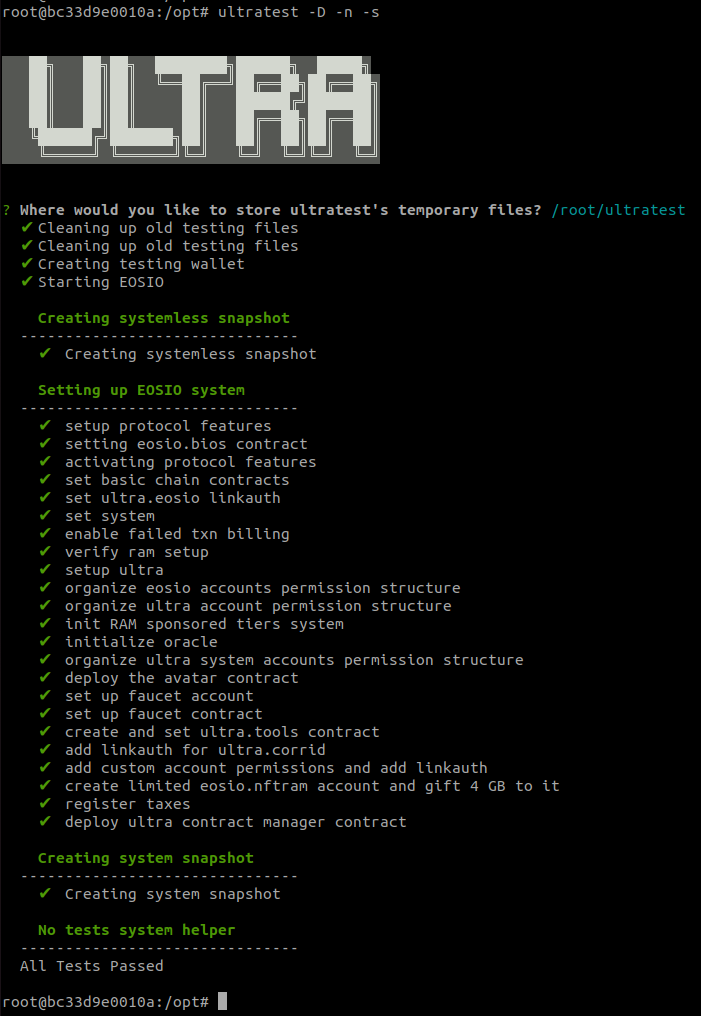
Step 2a: Verify the Local Chain is Running
Execute the following command inside the container:
cleos get info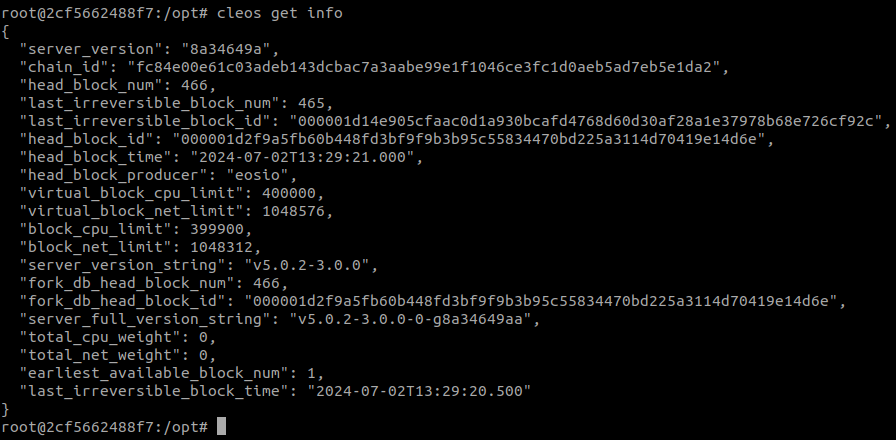
Step 3: Create and Compile the Smart Contract
Create a directory on your host machine at ultra_workdir/hello and create a file named hello.cpp with the following content:
#include <eosio/eosio.hpp>

class [[eosio::contract]] hello : public eosio::contract {
public:
using contract::contract;

[[eosio::action]]
void hi(eosio::name user) {
    eosio::print("Hello, ", user);
}
};
Save it, then compile it with the following command in your Docker session:
cdt-cpp -o /opt/ultra_workdir/hello/hello.wasm /opt/ultra_workdir/hello/hello.cpp
Verify that two new files, hello.abi and hello.wasm, were created in the hello directory with the following command:
ls -lsa /opt/ultra_workdir/hello/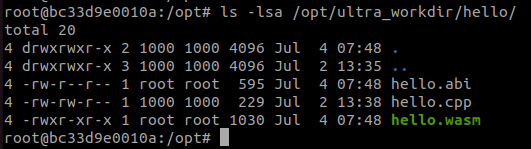
Step 4: Create an Account for Deployment
Inside the Docker container, create a private and public key pair:
cleos create key --to-consoleYou will see a generated key pair:
Private key: 5KPNRT7C4CJs9ddNTieC5fL92NQNk82Nxb1EQ5sL4siGhU4oxcV
Public key: EOS7crhavXnYD6LcbfXQuF4GoqWsS8zdYvVXyv2AV9HSFLa75PHCD
Import the key into your local wallet:
cleos wallet import --private-key 5KPNRT7C4CJs9ddNTieC5fL92NQNk82Nxb1EQ5sL4siGhU4oxcVCreate an account named helloacc using your public key:
cleos system newaccount --gift-ram-kbytes 128 eosio helloacc EOS7crhavXnYD6LcbfXQuF4GoqWsS8zdYvVXyv2AV9HSFLa75PHCD EOS7crhavXnYD6LcbfXQuF4GoqWsS8zdYvVXyv2AV9HSFLa75PHCDVerify the account:
cleos get account helloacc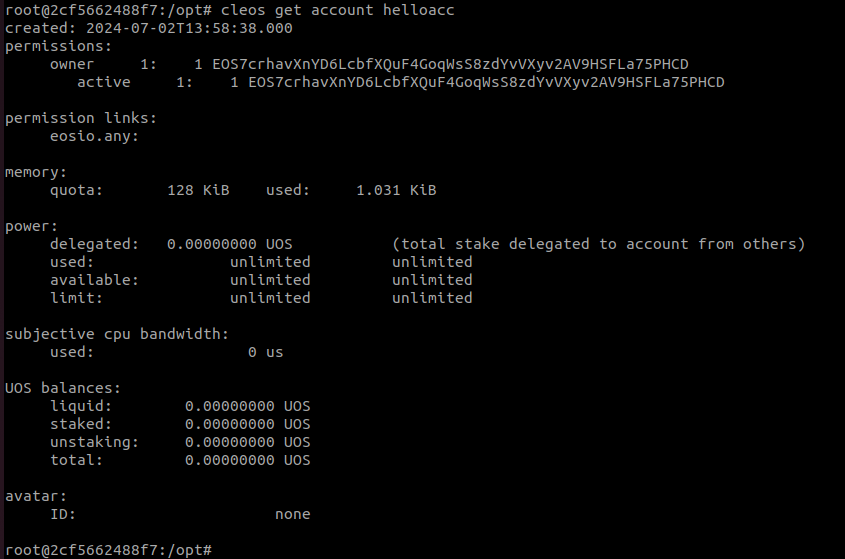
Step 5: Deploy the Smart Contract
Deploy the smart contract to helloacc:
cleos set contract helloacc /opt/ultra_workdir/hello hello.wasm hello.abiWARNING
If you encounter the error account helloacc does not have KYC info, execute:
cleos push action eosio.kyc togglekyc '[]' -p ultra.kycThen retry the deployment command.
Verify the deployment:
cleos get code helloaccIf the code hash is not zero, the contract has been successfully deployed.
Step 6: Interact with Your Smart Contract
Call the hi action of the hello smart contract:
cleos push action helloacc hi '["alice"]' -p helloacc@activeThe output will be "Hello, alice".
 Note: The hi action uses eosio::name parameter, so using capital letters will result in an Invalid name error:
cleos push action helloacc hi '["Alice"]' -p helloacc@activeAlways use names that conform to the EOSIO naming rules: lowercase letters, digits, and periods, with a maximum length of 12 characters.

Step 7: Log Out from Docker Container
To log out from the Docker container, you can type exit or simply press the CTRL+D shortcut combination.
What's next?
TBA