Docker Contract Development Flow
A smart contract is written in C++ but compiled into WASM.
Developers must have some knowledge in C++ to write smart contracts for the Ultra Blockchain.
Hello World Smart Contract
Recommended to setup a VS Code Environment before moving forward.
Setup
Create a directory called hello inside of any of the following directories:
Windows:
C:\\Users\\Username\\ultra_workdir\\helloLinux:
~/ultra_workdir/helloDocker Container:
/opt/ultra_workdir/hello
Additional permissions may be required to create the directory.
Create hello.cpp
Navigate to the following directory.
cd /opt/ultra_workdir/helloCreate the file hello.cpp inside of the hello directory.
Then place the following content inside of hello.cpp and ensure you save the file.
#include <eosio/eosio.hpp>
class [[eosio::contract]] hello : public eosio::contract {
  public:
      using eosio::contract::contract;
      [[eosio::action]]
      void hi( eosio::name user ) {
         print( "Hello, ", user);
      }
};
Above is Content for hello.cpp
cdt-cpp binary
There is a single binary which is included with our docker image.
What is it?
- A clang-based WASM compiler and ABI generator tool
- Must be ran anywhere inside of the docker image
Usage
cdt-cpp -helpCompiling a Smart Contract
Using the above hello.cpp file we can utilize cdt-cpp to compile it.
Run the following command inside the docker image.
cdt-cpp hello.cppThree files should be created in the hello directory.
- hello.cpp
- This is the source code of an example smart contract.
- hello.abi
- This file describes the interface of the smart contract.
- hello.wasm
- This is a compiled Web Assembly smart contract.
After compiling the smart contract there are two options for deployment in the local development environment.
CMake
When building smart contracts, developers may have more than one file. While cdt-cpp provides the basics, it is recommended to use CMake for anything more complex than single file.
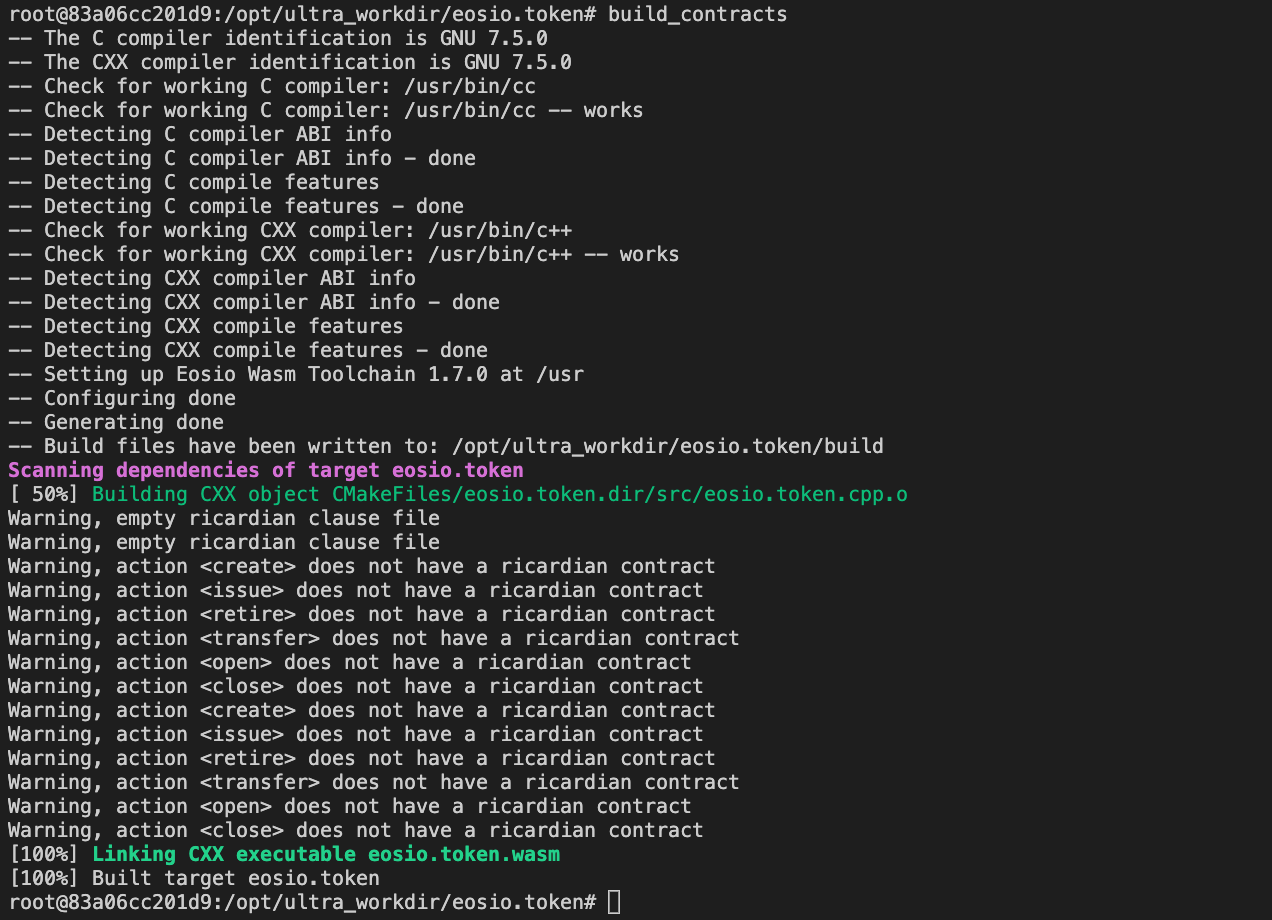
We will try compiling the eosio.token contract in this example.
Preparations
Create a directory called eosio.token in one of the following locations:
Windows:
C:\\Users\\Username\\ultra_workdir\\eosio.tokenLinux:
~/ultra_workdir/eosio.tokenDocker Container:
/opt/ultra_workdir/eosio.token
After creating the directory, create directories inside of eosio.token with the following paths:
eosio.token/include/eosio.tokeneosio.token/src
Obtain the following files from the following markdown page and append the content from each section in their own corresponding file.
Example Folder Structure
/opt/ultra_workdir/eosio.token/
    |
    |- CMakeLists.txt
    |- include/
    |  |- eosio.token/
    |     |- eosio.token.hpp
    |- src/
        |- eosio.token.cpp
Building using CMakeLists.txt
After preparing all the smart contract files and CMakeLists.txt you should be able to proceed with building the contract using the following commands:
mkdir -p build && cd build
cmake -DCMAKE_BUILD_TYPE=Release ../
make
If you want to rebuild the contract you can either run the make command in the build directory again or delete the build directory and perform the commands above again
If everything is setup correctly the commands will use the CMakeLists.txt and build your contract.

Additional Files with CMake
CMake has a handful of functions that can be placed inside of a CMakeLists.txt file to include other files, and folders.
target_include_directories(target PUBLIC dir_list)
Specifies include directories to use when compiling a given target.
Example
This example shows how to include other folders.
target_include_directories(mycontract
    PUBLIC
    ${CMAKE_CURRENT_SOURCE_DIR}/include
    ${CMAKE_CURRENT_SOURCE_DIR}/common/include
    ${CMAKE_CURRENT_SOURCE_DIR}/mycontract_specific/include)
add_contract
Used to build your smart contract and generate an ABI, the first parameter is the contract name, the second is the cmake target name, and the rest are the CPP files needed to build the contract.
Example
This example shows how to include additional .cpp source files.
add_contract(mycontract mycontract
    ${CMAKE_CURRENT_SOURCE_DIR}/src/a.cpp
    ${CMAKE_CURRENT_SOURCE_DIR}/src/b.cpp)
Troubleshooting
Any errors encountered during builds or deployment can potentially have solutions in our troubleshooting section.