How to create multiple Uniq Factories using the Ultra Tool Kit

Prerequisites
- A basic understanding of Factory Metadata, Default Uniq Metadata and Uniq Metadata.
- Ultra Tool Kit Account: Ensure you are logged in and have access to the Ultra Toolkit.
- You will need a Google account to make a copy of the Bulk Factory Creation - Template.
- CSV File: Prepare a CSV file containing all the necessary data for creating Uniq Factories. Each row in the file will represent a single Uniq Factory.
Goal
The goal of this tutorial is to guide developers through the process of efficiently creating multiple Uniq Factories using the Ultra Tool Kit. By following this step-by-step guide, you will learn how to prepare a CSV file that allows for the bulk creation of Uniq Factories, reducing the need for manual input and ensuring consistency across all your entries. This method is particularly useful for large-scale operations where numerous Uniq Factories need to be deployed quickly and accurately.
Accessing the Tool Kit
To access the Ultra Tool Kit, please visit: https://toolkit.ultra.io
Once you're on the Tool Kit homepage, click on the network selection component on the top right of your screen.
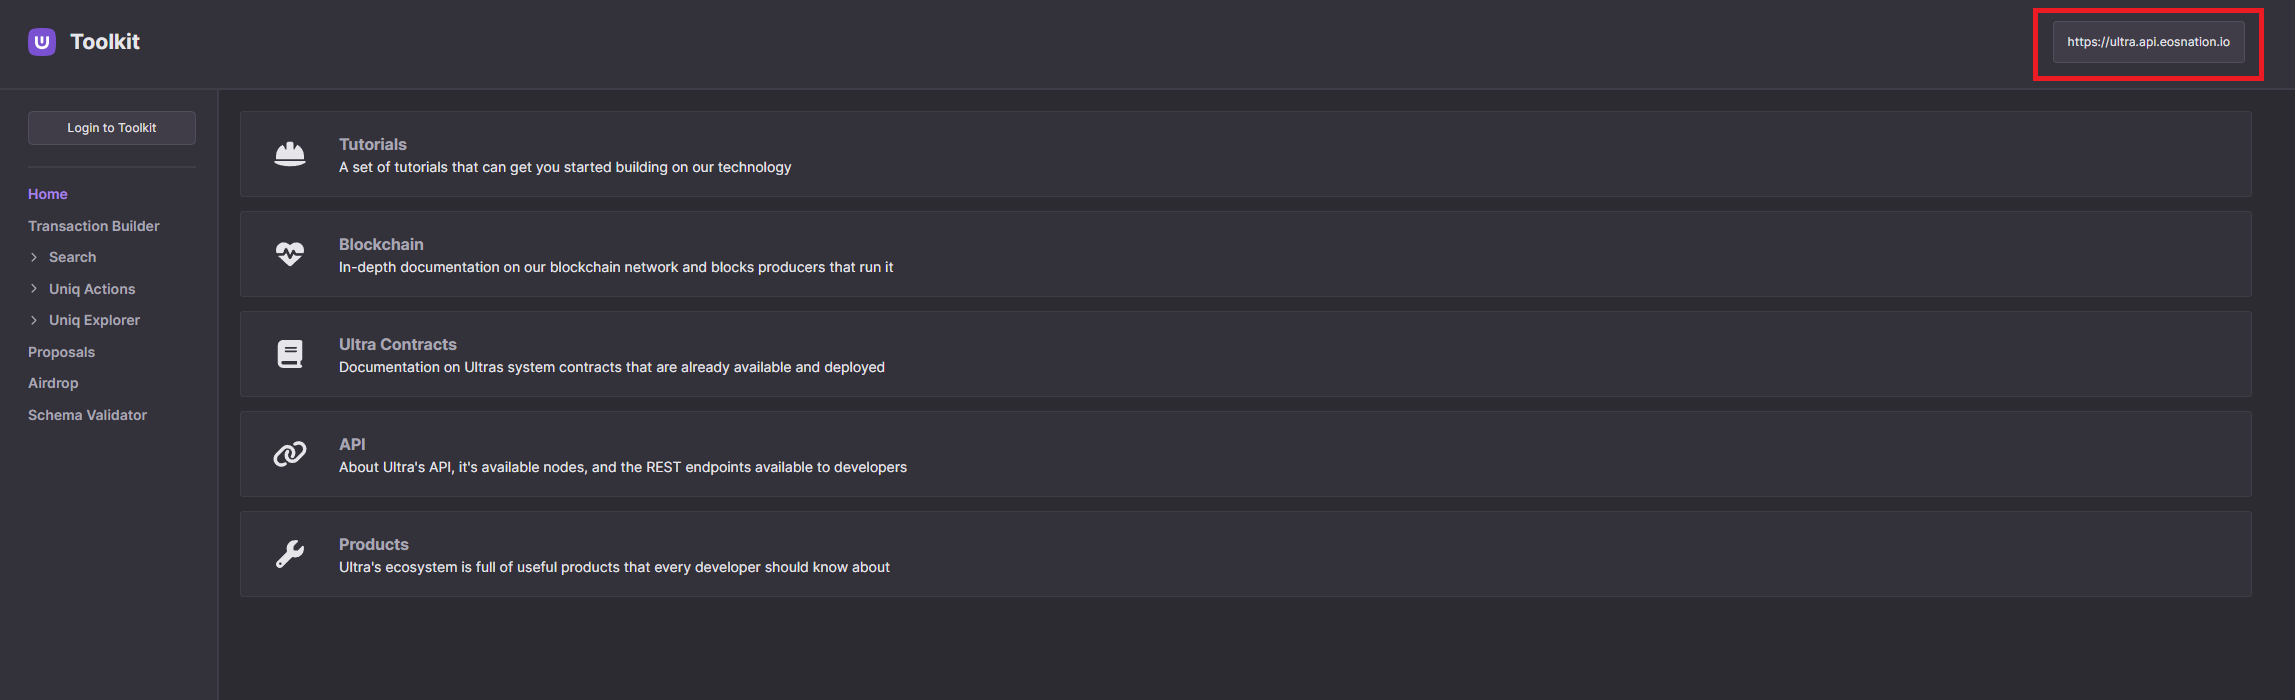
Clicking on the network selection component will open up a list of available networks that you can use the toolkit on. For the sake of this tutorial, we will be using the Ultra Testnet. From the list of available networks, click on Testnet.

Login to the Ultra Tool Kit using Ultra Wallet. Refer to Tutorial - Log in to the Ultra Tool Kit for more information.
Creating Multiple Uniq Factories
1. Accessing Bulk Factory Creation
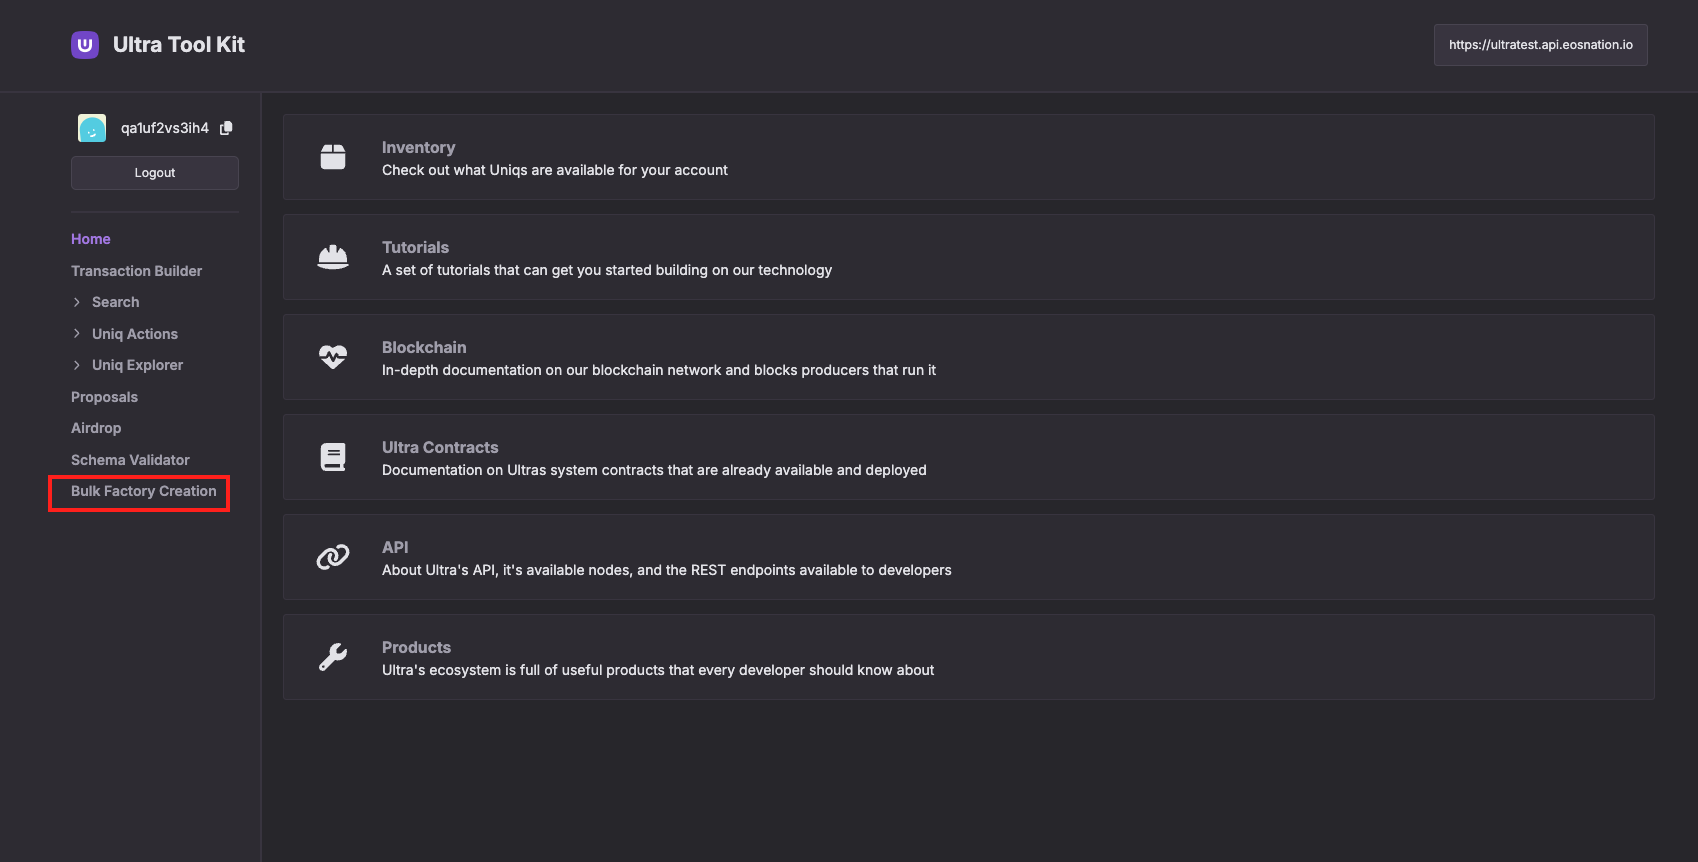
Once you've logged in to the tool kit, from the tool kit home page, click on the Bulk Factory Creation from the sidebar, to open the creation tool.
2. Preparing CSV Template
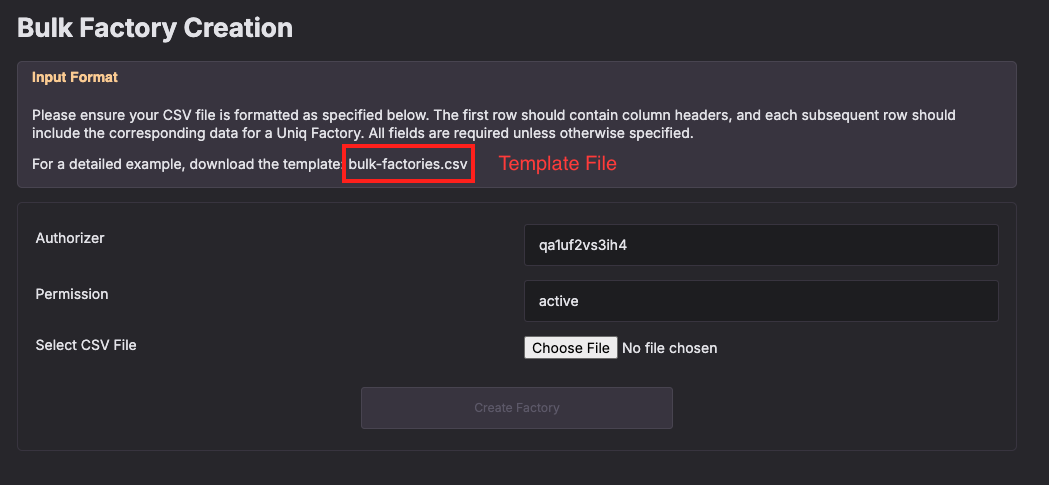
The first step is to prepare your CSV file. This file will contain all the properties required to create each Uniq Factory. You can download a CSV Template from the Tool Kit on the Bulk Factory Creation page:
Here’s an example of what your CSV file might look like:
| memo | asset_manager | asset_creator | minimum_resell_price | mintable_window_start | mintable_window_end | trading_window_start | trading_window_end | recall_window_start | recall_window_end | max_mintable_tokens | lock_hash | lockup_time | stat | account_minting_limit | transfer_window_start | transfer_window_end | maximum_uos_payment | factory_uri | factory_hash | default_token_uri | default_token_hash | resale_shares_1 | resale_shares_2 | resale_shares_3 | resale_shares_4 | resale_shares_5 | conditionless_receivers_1 | conditionless_receivers_2 | conditionless_receivers_3 | conditionless_receivers_4 | conditionless_receivers_5 | authorized_minters_1 | authorized_minters_2 | authorized_minters_3 | authorized_minters_4 | authorized_minters_5 |
|---|---|---|---|---|---|---|---|---|---|---|---|---|---|---|---|---|---|---|---|---|---|---|---|---|---|---|---|---|---|---|---|---|---|---|---|---|
| Factory #1 | vh1to2ko3wp4 | vh1to2ko3wp4 | 100.00000000 UOS | 2021-05-31 0:00:00 | 2021-05-31 0:00:00 | 1000 | 0 | 100 | http://... | 2d6f37d3858a8f31fca86cc73320c29e0a872050beb4704acb35dde6562af1ab | http://... | 2d6f37d3858a8f31fca86cc73320c29e0a872050beb4704acb35dde6562af1ab | ultra.nft.ft:250 | |||||||||||||||||||||||
| Factory #2 | vh1to2ko3wp4 | vh1to2ko3wp4 | 1.00000000 USD | 2021-05-31 0:00:00 | 2021-05-31 0:00:00 | 250 | 0 | 50 | http://... | 2d6f37d3858a8f31fca86cc73320c29e0a872050beb4704acb35dde6562af1ab | http://... | 2d6f37d3858a8f31fca86cc73320c29e0a872050beb4704acb35dde6562af1ab | ultra.nft.ft:250 | vh1to2ko3wp4:150 | ultra.test | ultra.nft.ft:100 | ultra.test:1 | |||||||||||||||||||
| Factory #3 | vh1to2ko3wp4 | vh1to2ko3wp4 | 10 | 0 | 1 | http://... | 2d6f37d3858a8f31fca86cc73320c29e0a872050beb4704acb35dde6562af1ab | http://... | 2d6f37d3858a8f31fca86cc73320c29e0a872050beb4704acb35dde6562af1ab | ultra.nft.ft:250 | vh1to2ko3wp4:150 | ultra.test:150 | ultra.test | ultra.nft.ft:1 | ultra.test:1 | |||||||||||||||||||||
| Factory #4 | vh1to2ko3wp4 | vh1to2ko3wp4 | 15500.00000000 UOS | 2024-05-31 0:00:00 | 2021-05-31 0:00:00 | 0 | 100 | http://... | 2d6f37d3858a8f31fca86cc73320c29e0a872050beb4704acb35dde6562af1ab | http://... | 2d6f37d3858a8f31fca86cc73320c29e0a872050beb4704acb35dde6562af1ab | ultra.nft.ft:250 |
Note: Empty cells in the CSV are treated as null fields, meaning those properties will not be set for the corresponding Uniq Factory.
Each column in your CSV corresponds to a specific parameter in the create.b action as described in the create.b action documentation. Here's a breakdown of each field:
Based on the Ultra developer documentation for the create.b action, I've added the "Required" column to indicate whether each parameter is mandatory or optional. Here's the updated table:
| CSV Column | Required | Description |
|---|---|---|
memo | Yes | Stores a string value (up to 256 bytes) providing additional context or information about the factory creation. Corresponds to the memo parameter in the create.b action. |
asset_creator | Yes | Specifies the account name of the asset creator, who must sign the transaction. Maps directly to the asset_creator parameter. |
asset_manager | Yes | Identifies the account responsible for managing the factory. The asset_manager must sign the transaction and pay for the RAM used to store token factory data. Maps to asset_manager. |
minimum_resell_price | No | Specifies the minimum price (in UOS or USD) at which tokens from the factory can be resold. Tokens cannot be sold below this price. Maps to minimum_resell_price. |
resale_shares_[1..5] | No | Specifies resale shares, detailing accounts that receive a percentage of the resale price. Each share has a receiver and a basis point value. Maps to resale_shares. |
mintable_window_start | No | Defines the start of the time window during which tokens from this factory can be minted. Date in UTC format. Maps to mintable_window_start. |
mintable_window_end | No | Defines the end of the time window during which tokens from this factory can be minted. Date in UTC format. Maps to mintable_window_end. |
trading_window_start | No | Specifies when tokens from this factory can start being traded. Date in UTC format. Maps to trading_window_start. |
trading_window_end | No | Specifies when tokens from this factory can no longer be traded. Date in UTC format. Maps to trading_window_end. |
recall_window_start | No | Defines when tokens can start being recalled after minting. Represented as time intervals since minting (in seconds) or specific dates. Maps to recall_window_start. |
recall_window_end | No | Defines when tokens can no longer be recalled after minting. Represented as time intervals since minting (in seconds) or specific dates. Maps to recall_window_end. |
max_mintable_tokens | Yes | Specifies the maximum number of tokens that can be minted by the factory. If blank, unlimited tokens can be minted. Maps to max_mintable_tokens. |
lockup_time | No | Defines the duration (in seconds) that tokens remain locked after minting. Tokens cannot be transferred or resold during this time unless transferred to a conditionless receiver. Maps to lockup_time. |
conditionless_receivers_[1..5] | No | Lists accounts that can receive tokens without adhering to transfer or lockup restrictions. Maps to conditionless_receivers. |
stat | Yes | Indicates the initial status of the factory (0 for active, 1 for inactive, 2 for shutdown). Maps to stat. |
factory_uri | Yes | Contains the base URI pointing to the factory's metadata, required for factory creation. Maps to factory_uri. |
factory_hash | No | Optional field storing the SHA256 hash of the factory metadata file, ensuring data integrity. Maps to factory_hash. |
authorized_minters | No | Specifies accounts authorized to mint tokens from the factory, along with the quantity they can mint. Maps to authorized_minters. |
account_minting_limit | No | Limits the number of tokens each account can mint. If blank, there is no limit. Maps to account_minting_limit. |
transfer_window_start | No | Defines when tokens from the factory can start being transferred. Maps to transfer_window_start. |
transfer_window_end | No | Defines when tokens from the factory can no longer be transferred. Maps to transfer_window_end. |
maximum_uos_payment | No | Specifies the maximum amount of UOS that the factory creation transaction can cost. Maps to maximum_uos_payment. |
default_token_uri | Yes | Points to the default URI for the token metadata, used when there is no specific metadata for a token. Maps to default_token_uri. |
default_token_hash | No | Optional field containing the SHA256 hash of the default token URI content, ensuring its integrity. Maps to default_token_hash. |
lock_hash | No | Boolean field indicating whether to lock the metadata hashes, preventing further changes. Maps to lock_hash. |
These columns in your CSV template represent the necessary inputs to create multiple Uniq Factories using Ultra's create.b action efficiently. Each column directly maps to a specific parameter in the smart contract, ensuring that the factories are created with all the required settings.
3. Uploading the CSV File
Once your CSV file is ready, you can upload it to the Ultra Tool Kit for processing.
- Log in to your Ultra Tool Kit account.
- Click on "Bulk Factory Creation"
- Upload your CSV file.
After uploading, the Ultra Tool Kit will parse the CSV file and begin processing each line. Each row in the CSV file is translated into a transaction on the blockchain. The create.b action is applied to each row, creating a new Uniq Factory
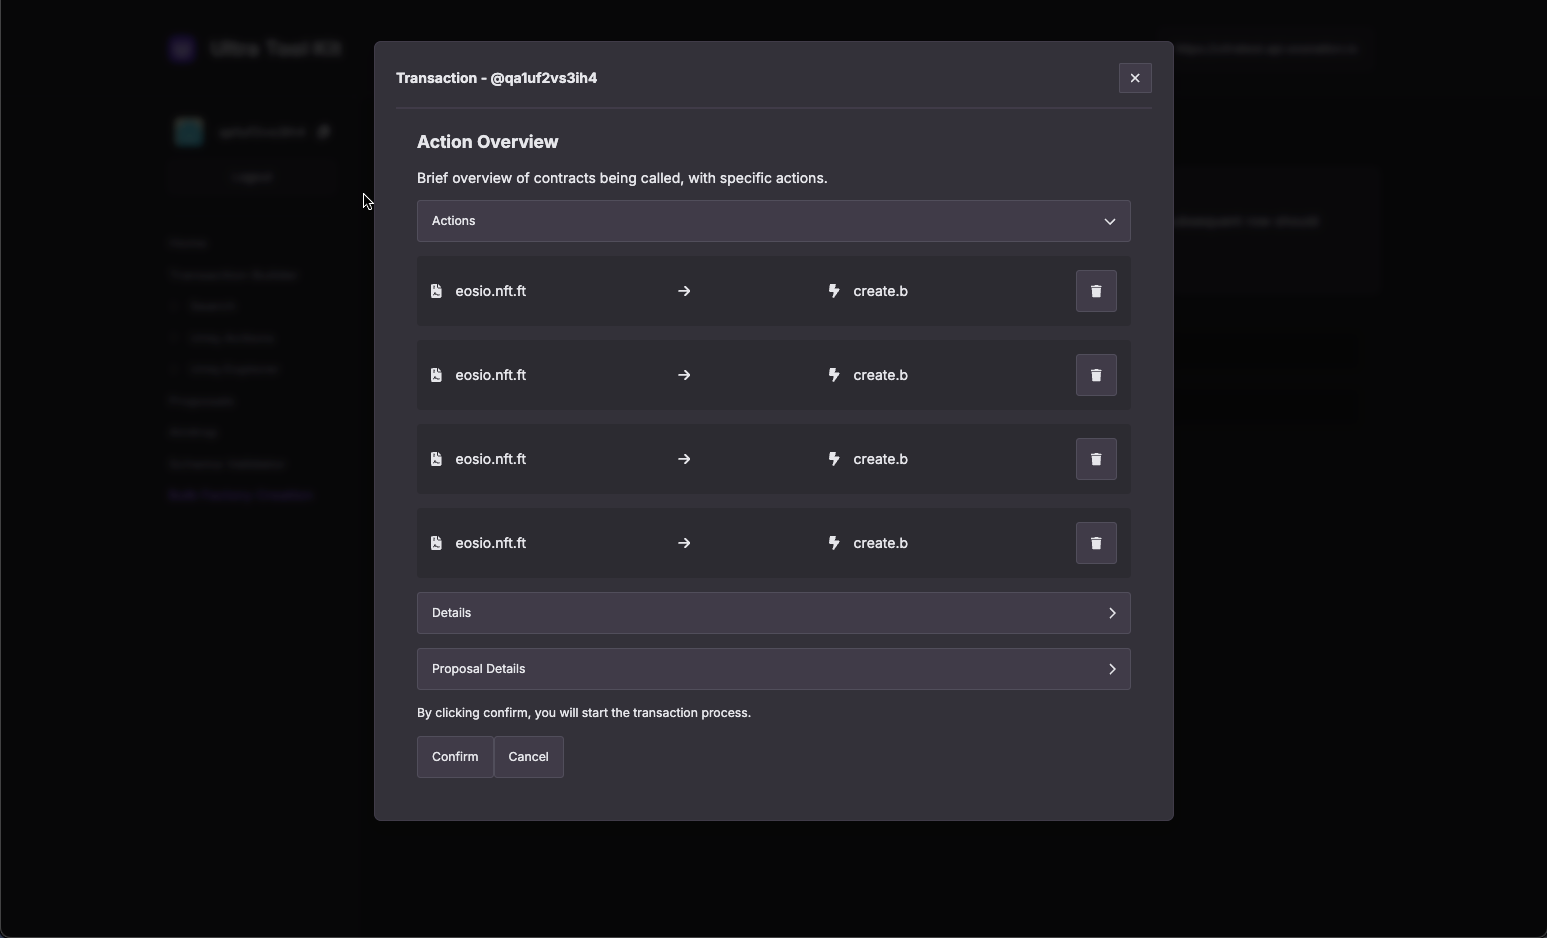
4. Review create.b Actions
Once you have uploaded, click on the Create (x) Action button and it will open up the transaction confirmation modal. You can click on the Details button to view the transaction in JSON form. Click on the Confirm button to submit your transaction.
Confirm and sign the transaction using the Ultra Wallet extension. This step is crucial as it authorizes the blockchain to execute the transfer under your account.

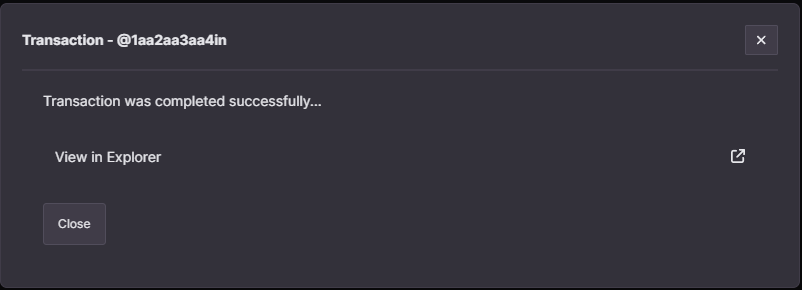
After signing the transaction, you will see a confirmation screen indicating that the transaction was successfully completed. To check the transaction on the block explorer, click on the View in Explorer text.
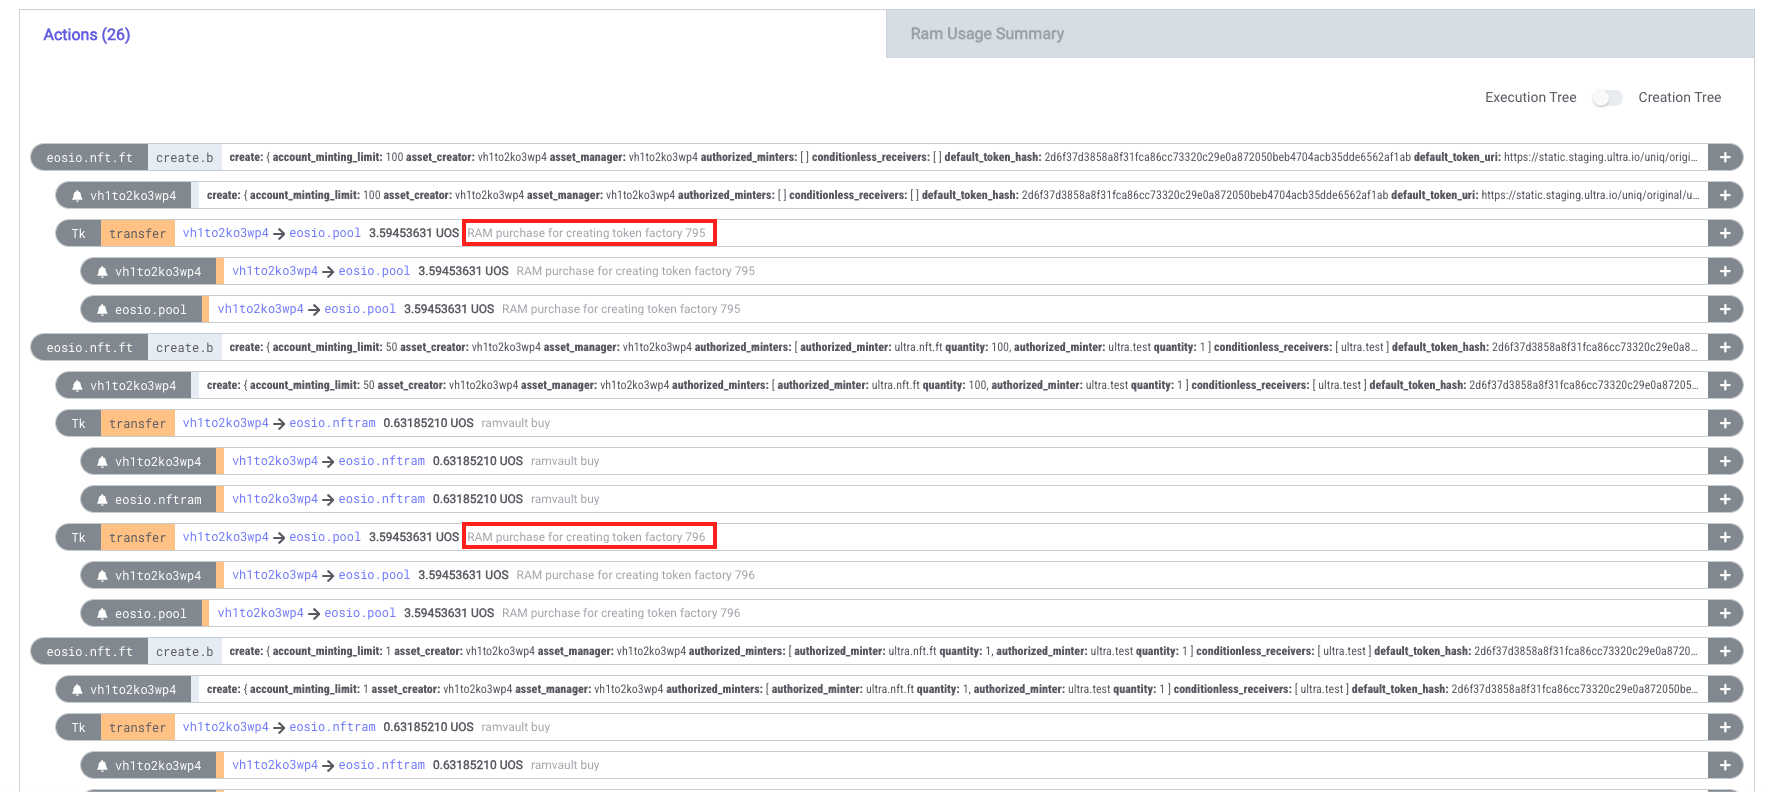
You'll find a list of actions on the block explorer transaction page. Since this is a bulk operation, a single transaction will contain multiple actions, each corresponding to the creation of a separate Uniq Factory. Look for the text that says RAM purchase for creating token factory <FACTORY_ID>. Each of these lines will display the ID for a newly created Uniq Factory. For instance, if you created multiple factories, you might see texts like RAM purchase for creating token factory 4356, RAM purchase for creating token factory 4357, and so on. The IDs are sequential and correspond to the order of entries in your CSV file. You’ll need these IDs for upcoming guides.
5. Verifying Factory Creation
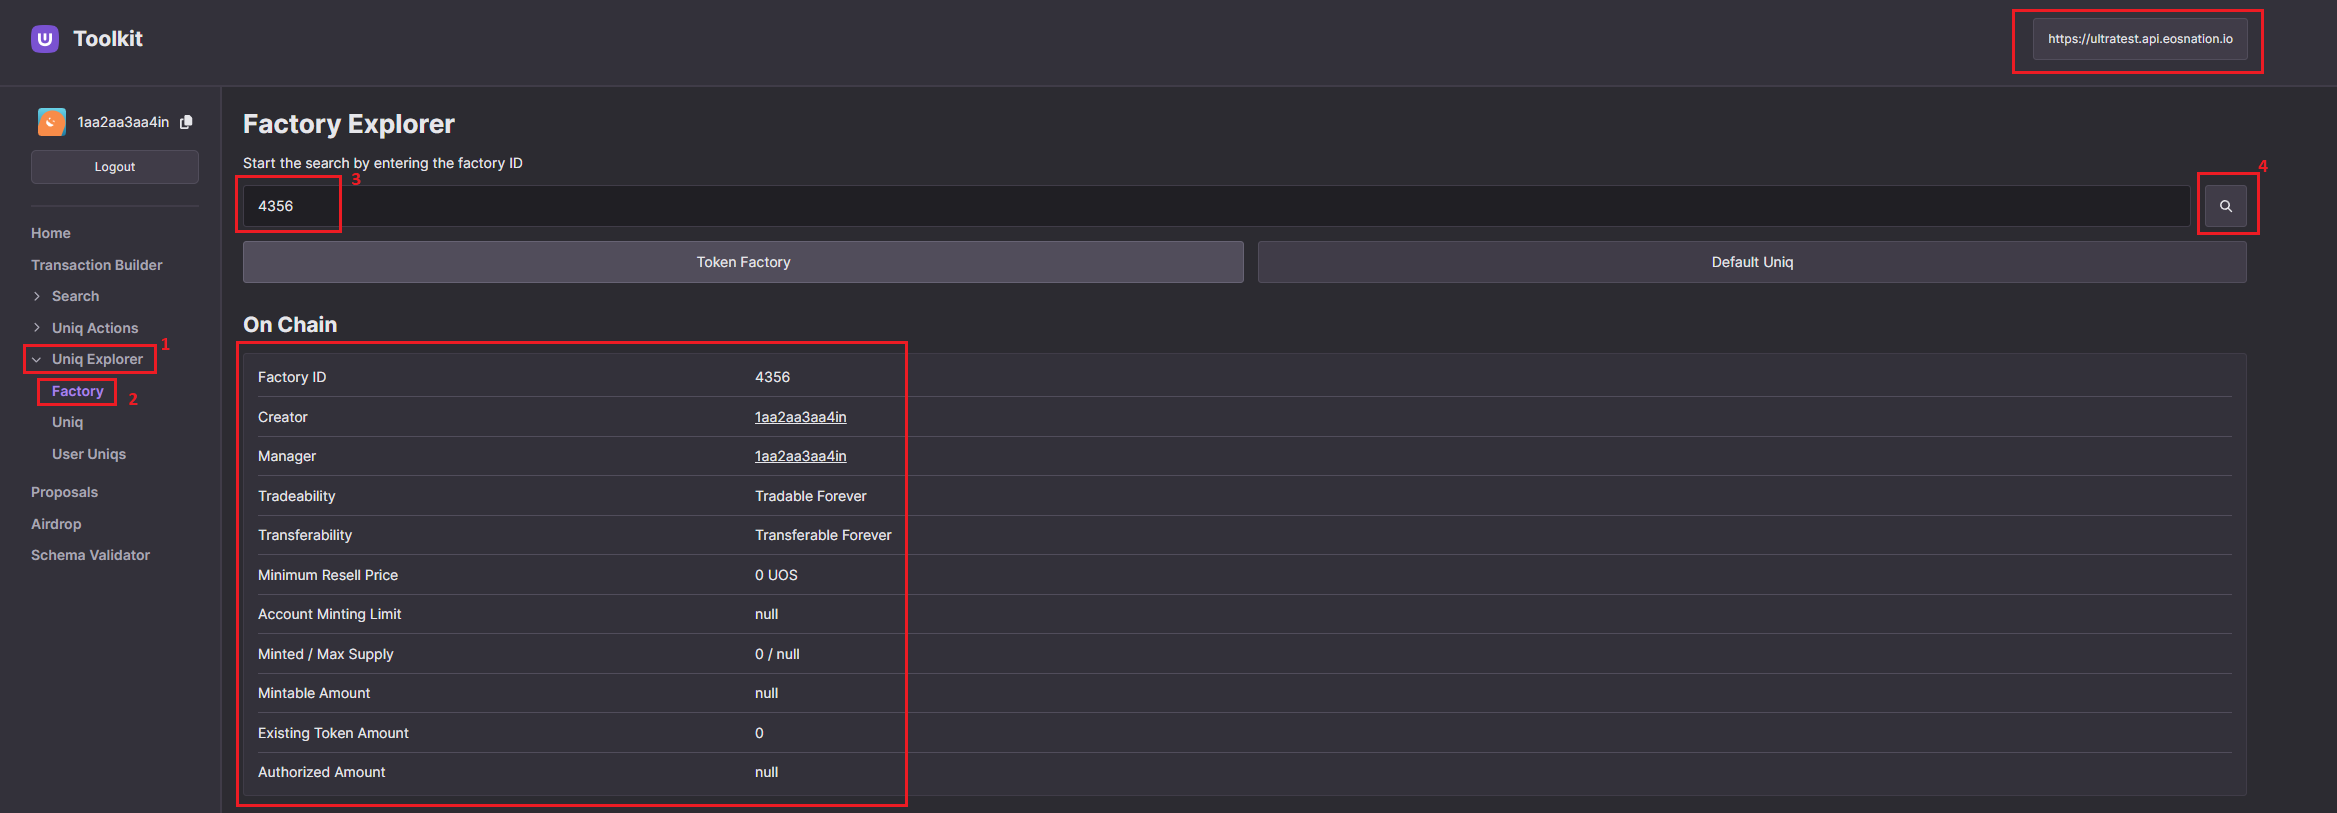
- To verify the successful creation of your Uniq Factory, go to the
Factory Explorerpage on the tool kit (https://toolkit.ultra.io/uniqFactory). - Make sure you are using the Ultra Testnet environment.
- Use the factory ID you obtained in the previous step to search for your Uniq Factory. Simply enter the ID and click the search button. You should then be able to view the details of your Uniq Factory.
You have now successfully created your Uniq Factories using the Ultra Tool Kit.
What's next?
Once you have created your Uniq Factories, the next step is to mint your first Uniq. Refer How to mint a Uniq using the Ultra Tool Kit.